
Recently, I have been studying for the Offensive Security Certified Professional (OSCP) exam and I have been trying to find some new ways to attack the recon and enumeration phase. This is something that has been an ongoing battle throughout my studies. I would run tool after tool and just always feel like my scans were coming up short. In this way, I kept missing important information, hidden directories, and glaring vulnerabilities.
As I continued my studies, I looked for different tools that could offer something I have been missing or give me a leg up in the process. Keeping to the rules of the OSCP, I found AutoRecon by Tib3rius. An OSCP approved tool that works like a dream. I have to say, finding this tool made for a great day. It automates various scans and runs full scans on all selected machines.
Before going into the details of this tool and how I found it beneficial, I want to mention that in addition to creating this tool Tib3rius has next level content on TryHackMe and Udemy. His privilege escalation labs and buffer overflow labs helped me get a better understanding of both concepts and get more of the practice I needed to feel more confident before I take the OSCP exam. If you would like to check them out, follow the link at the bottom of the page.
So, back to it. I won’t go into the details of installation instructions and requirements of this tool, as the GitHub page does more than a great job of explaining all of the nuts and bolts. I would really like to focus on the features and functionality of the tool that I find most useful. There are some great benefits that go beyond the automated scanning features.
After properly installing AutoRecon, you can get right to it. The commands are listed on the GitHub page along with the readme, showing the usage of the tool.
Here you can see an example of running the tool in Kali Linux:

It is easily run against one target and the “-o” option outputs all of the scans and other files to whichever directory indicated by the user. There are other flags that can be deployed to specialize each scan. However, I found this basic command to be the most functional and useful. Also, it should be noted that multiple targets can be scanned in one command.
So, let’s talk about how AutoRecon works and why it is so efficient. The tool enumerates certain services based on what is found in the initial port scan. For example, when a HTTP port was found on the target, AutoRecon runs gobuster and nikto to brute force URIs and look for any web app vulnerabilities. It will also immediately look for vulnerable files like the robots.txt file.
Some of this output can be seen in the following screenshot:
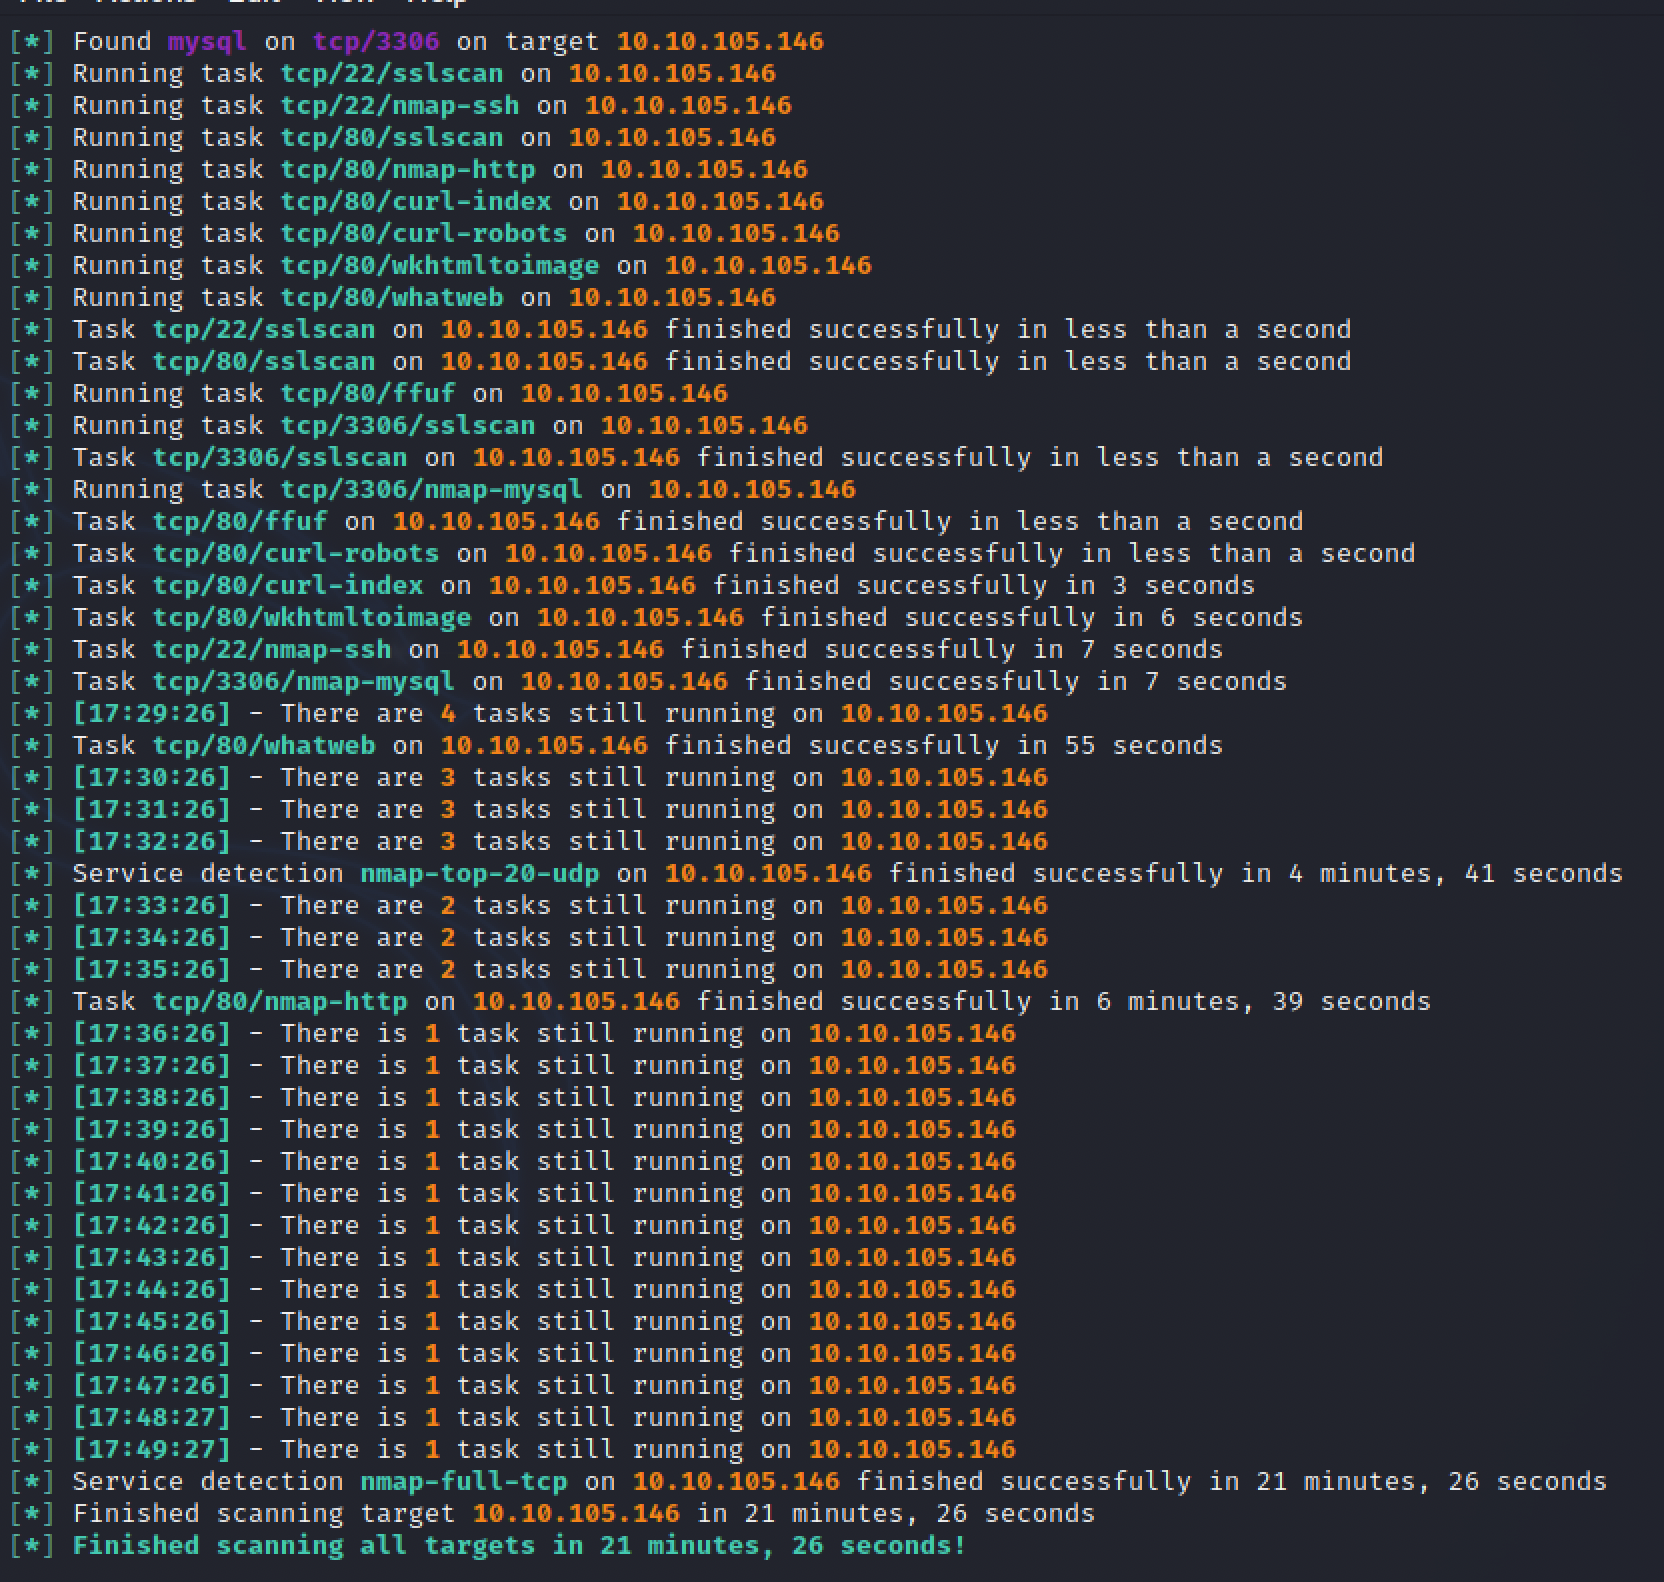
In addition, the immediate output shows the scans running and will notify the user when each scan has finished. Since there are a few large wordlists to run through, these scans can take a long time depending on the target. I will say it is definitely worth it though.
Something I have learned in my experience: it is better to use the larger wordlists and look for everything the first time rather than have to run a scan over and over again with increasingly larger wordlists. This goes for Nmap as well. Just go ahead and run your full port scan. Just another great thing about AutoRecon is that it runs a full TCP scan as a default, so you don’t miss anything on rare or uncommon ports.
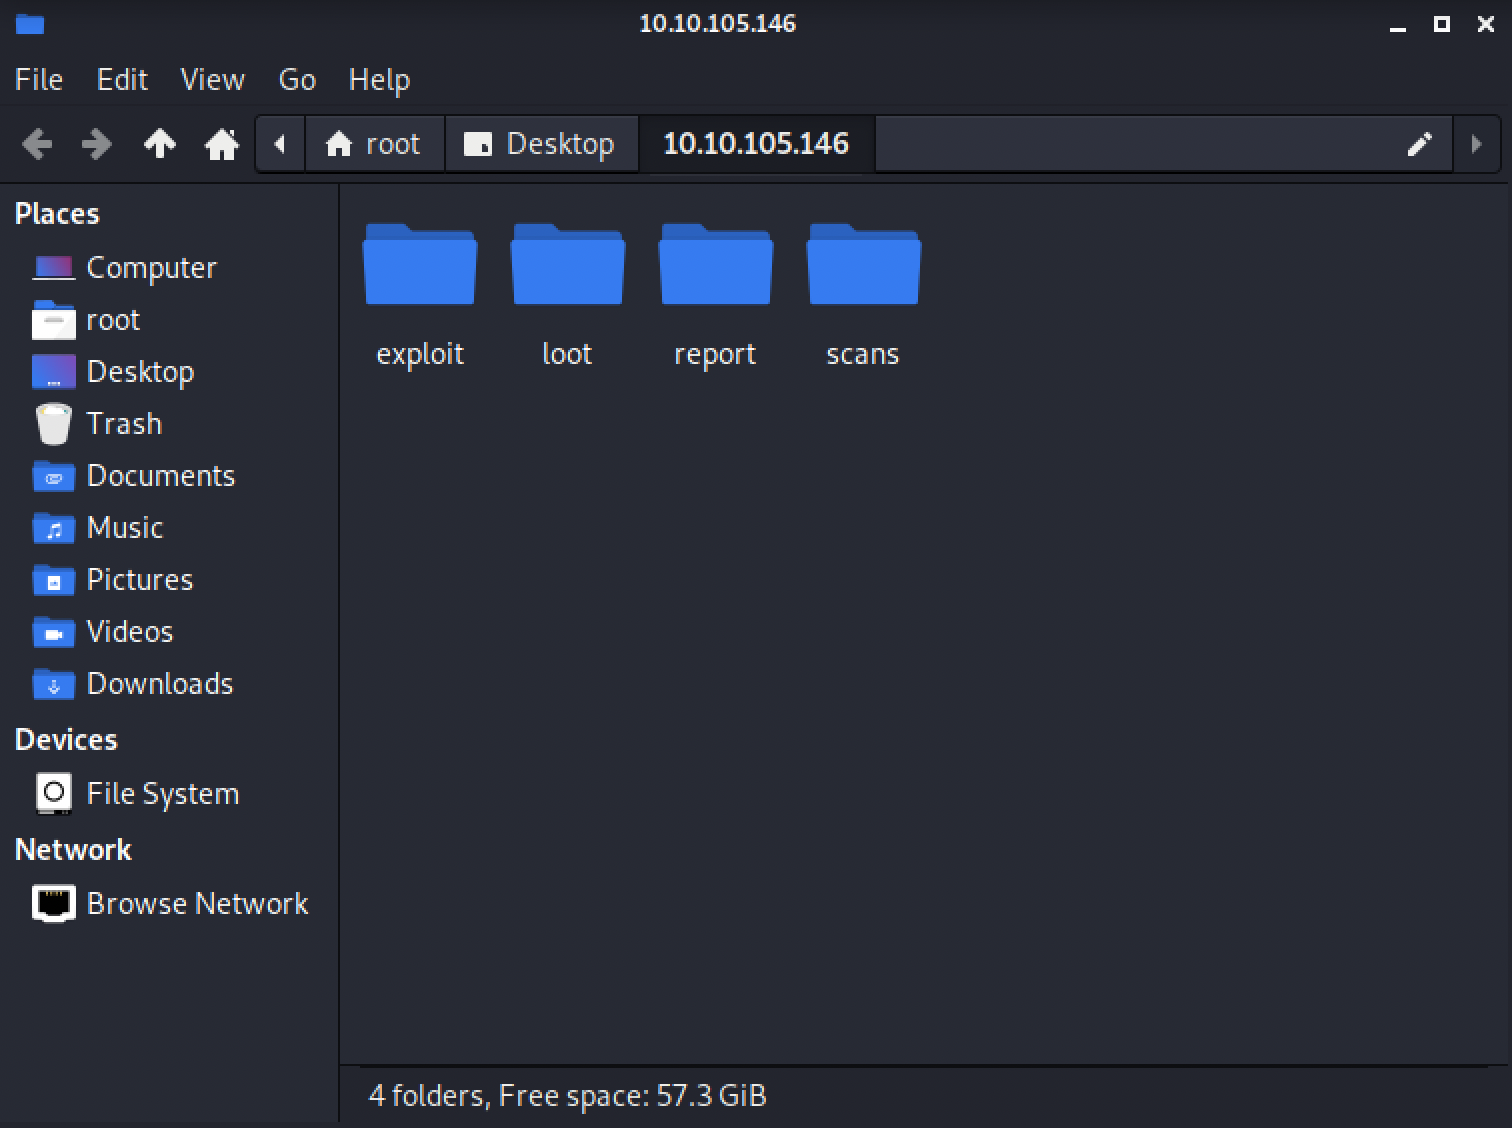
One of my favorite features of AutoRecon is the output files that it produces when a scan is run. Here it can be seen how the tool outputs several files to help the user organize their loot, exploits, reports, and scans. This way it is easy to keep track of all the exploits used on a target, any relevant screenshots, and all of the credentials or other sensitive information collected from the machine for a proper pentesting report.
Going deeper into the scans folder, this is where all of the results of the scans reside. The next two screenshots show how the scans are organized and separated into different ports. It shows the additional enumeration scans _ specifically for these services. Making it easier for a pentester to organize this information and formulate a proper attack plan.
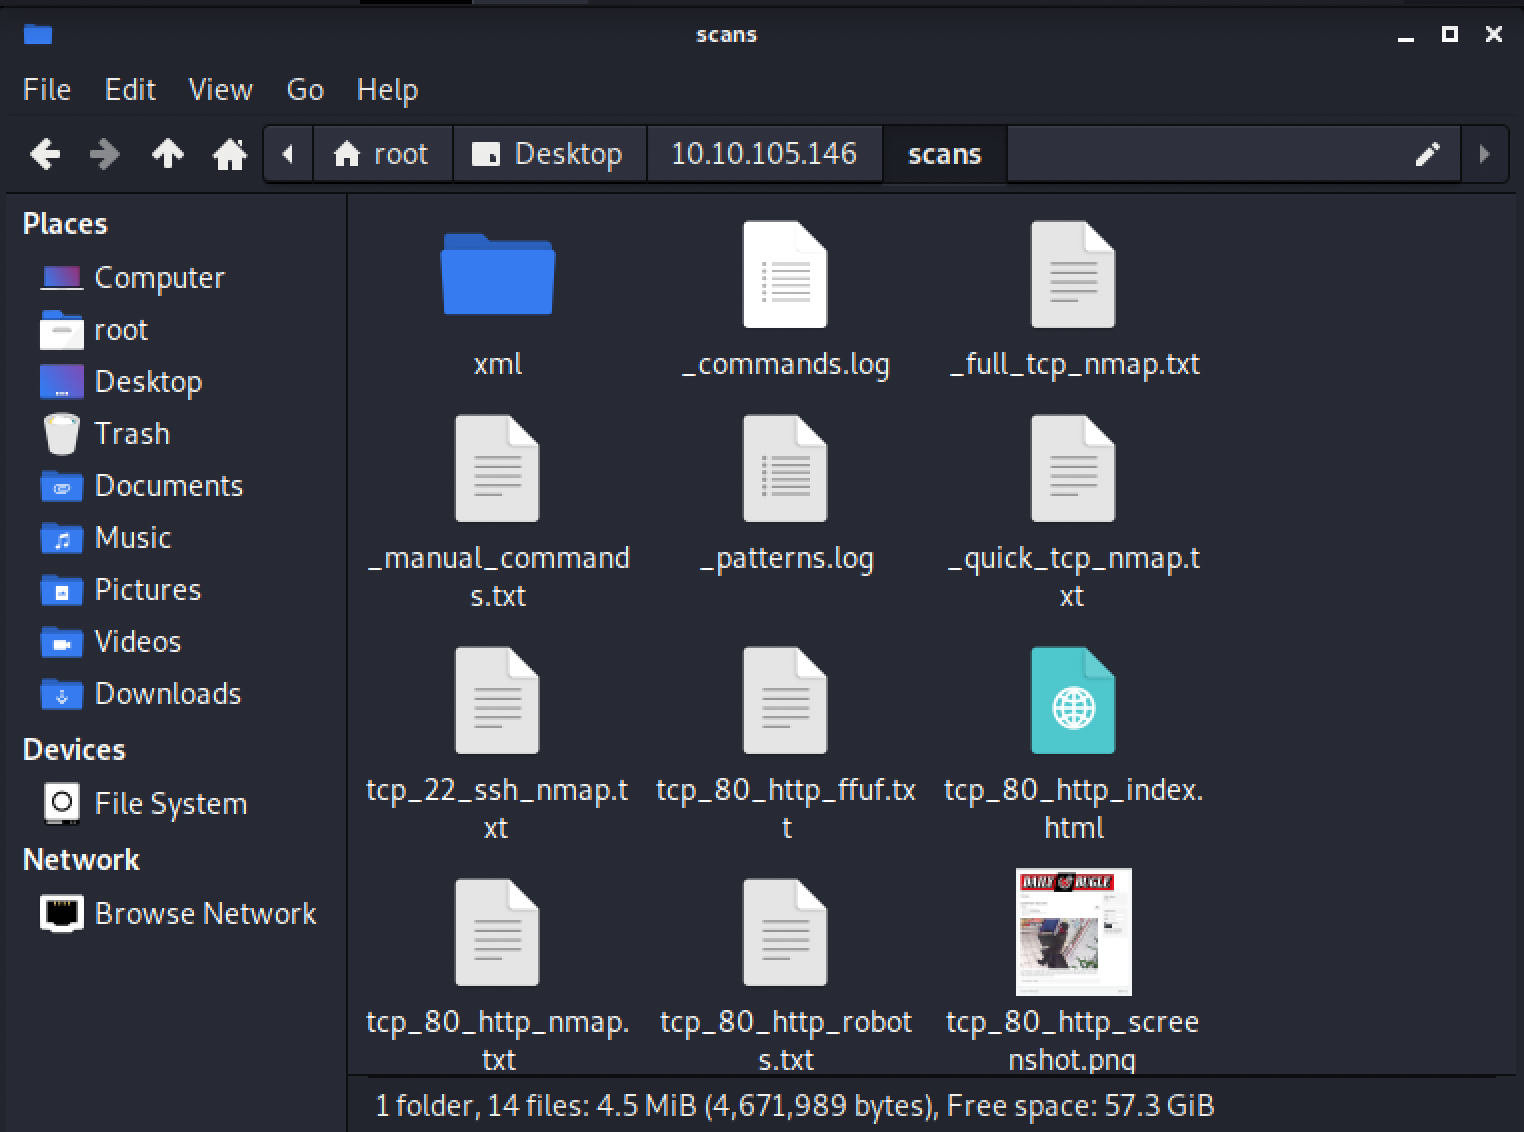
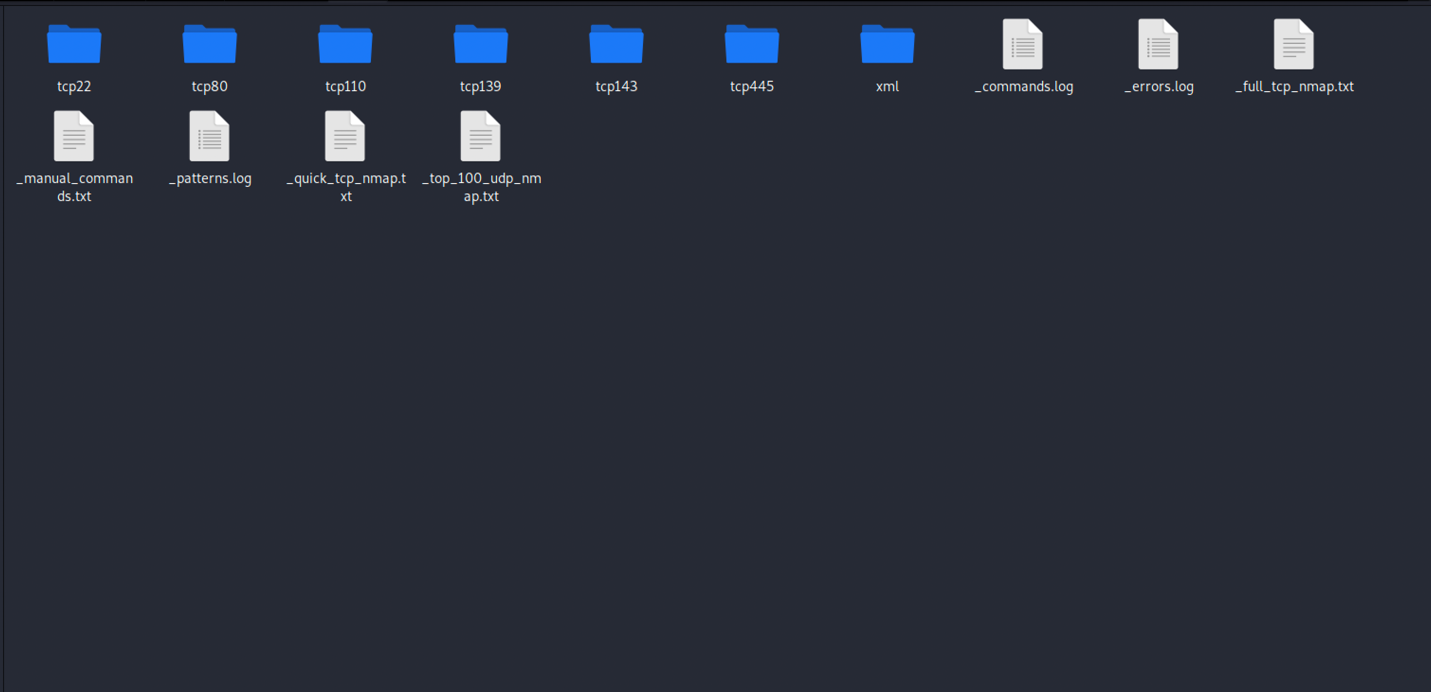
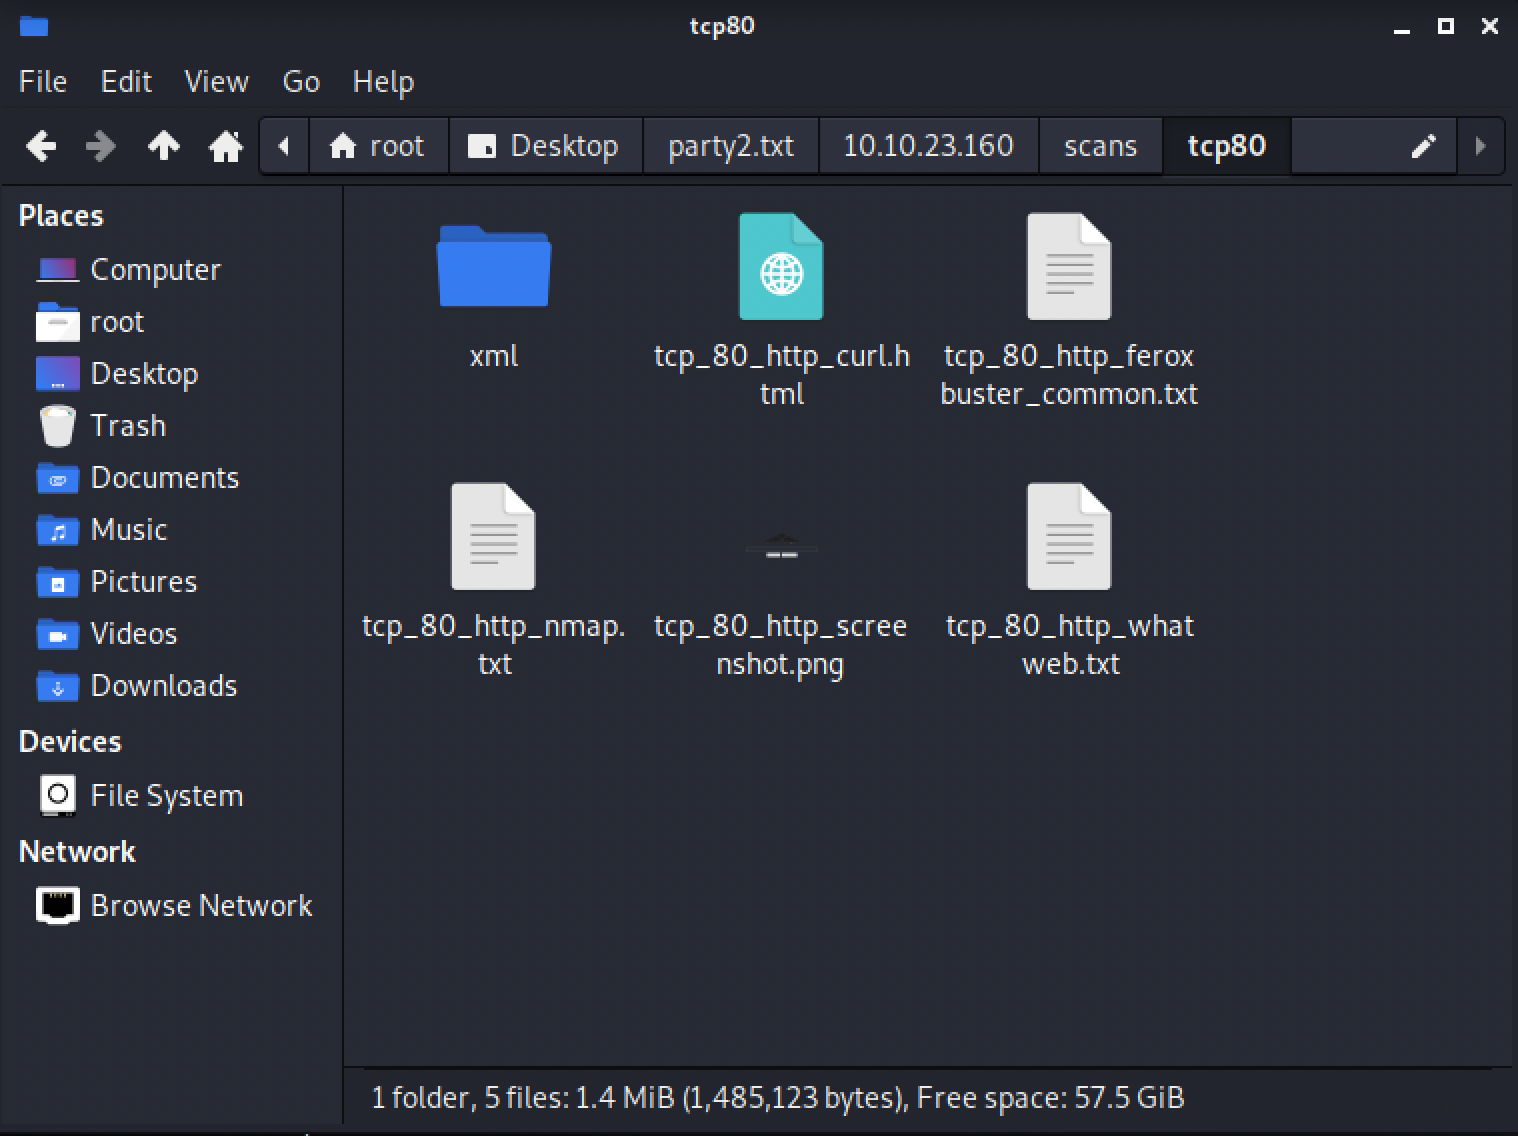
For example, let’s look into the tcp80 folder. This is a common open port on a lot of machines and is certainly one that needs further enumeration. Here you will see that AutoRecon ran whatweb, took a screenshot of the landing page, and ran a URI brute force tool.
The results of the URI brute force can be seen in the following screenshot:

You can see how this tool gives you all the relevant information. This output shows the HTTP code and the name of the directory or file. From here, it can make it easier for the pentester to see which directories should be enumerated and investigated further.
This tool does a lot of the leg work in the scanning and enumeration phase. It gives us a lot of great information here that can be useful in any CTF or exam. The best thing about this tool is that if it doesn’t give you the information you need, it does give you an idea of what to do next. This is not a cure-all type of tool that will find all the vulnerabilities for you, but it gives you a head start. I highly recommend this tool for anyone looking to improve their hacking skills on HTB or any other platform. It has served me well and I hope you get something out of it too.
Giving all the credit to Tib3erius here, he has contributed a lot to the community. Make sure you also check out his content on TryHackMe and Udemy.
Udemy:
https://www.udemy.com/course/windows-privilege-escalation/
https://www.udemy.com/course/linux-privilege-escalation/
TryHackMe:
https://tryhackme.com/room/linuxprivesc
https://tryhackme.com/room/windows10privesc
https://tryhackme.com/room/bufferoverflowprep
AutoRecon:
https://github.com/Tib3rius/AutoRecon
I hope AutoRecon helps you as much as it helped me. Happy Hacking!
Lou Dell’Italia
Hack House